
Video Editing With Claude: 6 Effects Without After Effects
Video editing with Claude now covers the grade, the counter and the motion. Here are six effects and the one prompt line that makes them land.

Video editing with Claude is a workflow where Claude writes the files and the code that your editor turns into effects: a LUT file for the color grade, an SRT file for an animated counter, and Remotion projects for motion graphics you drop into CapCut. One raw talking-head clip went through all six effects in this guide, and none of them needed After Effects. The first two need only the Claude chat. The other four need Claude Code, which runs on a paid plan, plus a one-time setup of Node.js and Remotion.
Video editing with Claude: the six effects at a glance
Each effect is a file or a composition Claude writes, applied in an editor you already use. In the order they went into the video:
# | Effect | What Claude makes | Where it runs |
|---|---|---|---|
1 | Color grade | A LUT file (.cube) | CapCut |
2 | Money counter | An SRT subtitle file | CapCut |
3 | Motion background | A Remotion composition | Claude Code + Remotion |
4 | Animated boxes | A Remotion composition | Claude Code + Remotion |
5 | Text highlights | A Remotion composition | Claude Code + Remotion |
6 | Map animation | A Remotion composition | Claude Code + Remotion |
How AI LUT color grading works with Claude and CapCut
AI LUT color grading works by asking Claude for a LUT file in plain words and loading that file into CapCut, which applies the whole grade in one step. A LUT is an instruction file that tells an editor to replace each color in the picture with a different one: a shade of blue made warmer, greenish shadows corrected, skin softened. Because the entire grade fits in one small file, Claude can write it from a text prompt, and any editor that reads LUTs can apply it straight away.
That matters most with flat, washed-out footage. The usual fix is hours on color wheels, or a colorist. Here, the fix is a sentence.
The prompt that writes the grade
The request used in this edit was: "Please generate a clean soft pastel LUT file for my YouTube videos. Cinematic and clean." Claude replied with a summary of the look before the file itself: lifted shadows, subtle teal and peach split toning, reduced saturation, low contrast, and a clean studio feel with friendly skin tones. Download the .cube file from the reply and save it somewhere you can find it.
Applying the LUT in CapCut
In CapCut, open Adjustment, choose LUT, click Import and open the .cube file. Add a new layer with the plus icon and stretch it over your footage, so the grade sits above the whole timeline. Toggle that layer on and off to compare. At full strength the grade felt too intense, so it went down to about 50%.
Changing what you don't like
The first version's shadows clashed with the clean look, so the next prompt asked Claude for a version without the teal. Set to 50%, that one gave a gentle pastel studio look across the whole timeline. Precise follow-up changes like this are where Claude is strongest: you describe the problem, and the next file fixes it.
How to make a CapCut money counter with an SRT file
A CapCut money counter is a run of subtitle clips, one number each, played fast enough to look like a dollar figure spinning up on screen, the kind big YouTube challenge videos use. Claude writes the subtitle file and CapCut does the rest, so there are no keyframes to place. Doing the same count-up by hand usually means hundreds of keyframes in After Effects, or templates that can break your project file.
The SRT prompt
An SRT file is an ordinary text file of timed subtitles. The prompt was: "Generate an SRT file for me with numbers counting from 0 to 600. Make each subtitle 0.1 seconds long and add a dollar sign in front of each." Download it the same way as the LUT, then drag it straight onto your CapCut timeline. Zoom in and you will see hundreds of small subtitle clips, each one styleable: font, size and color.
Making it fast enough
At 0.1 seconds per number, 600 numbers run a full minute, far too long for one moment in a video. Select all the subtitle clips and make them a compound clip, so CapCut treats them as one block. Then open Speed and ramp the compound clip up about 10x, and reposition it wherever the number belongs. By hand this effect takes about an hour; this way it took about two minutes.
Holding on the final number
If the point you are making is the final figure, double-click into the compound clip to reach the subtitles and drag the last one much longer. Back on the main timeline, the counter now stops and holds on $600 for a few seconds.
What you need for Remotion motion graphics in Claude Code
Remotion motion graphics need three things: Claude Code, Node.js and a Remotion project. Remotion turns code into video, and once it is installed Claude can build animated backgrounds, explainer graphics and maps from a description. You never write that code yourself. You describe the change in plain language and Claude edits the composition, which is what makes video editing with Claude workable for people who do not code.
Claude Code needs a paid plan
Claude Code is not part of the free Claude plan. The cheapest plan that includes it is Claude Pro, at $20 a month, or $17 a month billed annually. You also do not need the most expensive model for this work. The motion graphics here ran on lower-tier models, so save the top model for something that needs it.
Installing Node.js and Remotion
Install Node.js first: it is what your computer needs to run Remotion. Then, in Claude Code, run npx create-video@latest. On a first install it asks you to create a folder where all your Remotion projects will live. After that, install the extra packages Claude suggests, which improve Remotion's performance. If you get lost at any point, ask Claude to walk you through the install step by step.
Accept edits or bypass permissions
Claude Code has two modes worth knowing here. Accept edits asks before it does certain things, so you will see permission pop-ups, for example when Claude wants to open a PNG it created. Bypass permissions stops the pop-ups and lets Claude work in the background. It also stops Claude asking first, so use it inside one project folder rather than across your whole machine.
How to turn one reference image into a motion background
To turn a reference image into a motion background, drag the image into a new Claude Code session and ask Claude to animate it without changing its colors, textures or overall look. Claude builds a Remotion composition and opens a preview in your browser. The intro of this video used that to replace a plain opening frame with a moving gradient.
The reference came from Pinterest, from searches like "gradient background". The prompt asked for a premium motion background, rotated 90 degrees, at 16:9 and 10 seconds long. Claude should report that it is running the Remotion best-practices skill; if it does not, go back to the session where you installed Remotion and check the setup.
The first preview was full HD, with motion added to a blue glow, and it can be upgraded to 4K. It felt slow and a little dim, so the follow-up was simply to make the blue gradient move about three times faster. Within seconds, without reloading the browser, the preview showed the faster version.
Why your prompt should ask Claude for clarifying questions first
Ending a prompt with "Ask me any clarifying questions so that we nail this spot on" makes Claude ask about the details it would otherwise guess, before it builds anything. For the animated boxes in this edit, Claude asked how to stack them, how they should enter, whether they carried text, the frame size, how they should leave and what motion they should have while holding. It then checked its own work before finishing.
The reference was a Pinterest search for square UI boxes. The answers were: stacked vertically, appearing one after another, text only, a horizontal 1920x1080 frame, holding and then fading out, with subtle smooth motion while they hold, on pure black. The build took about four minutes, where this kind of motion design usually takes two hours at minimum.
Two small tweaks followed: everything about 10% faster, and the font switched to Inter Semibold. The last request mattered most for the edit. Black works on its own, but to lay the boxes over graded footage, the prompt asked for a transparent background while keeping the boxes themselves opaque. Render it, import the file into CapCut, and the boxes sit on top of your video.
How to add text highlights and a map animation
The last two effects run the same way: a reference or a short spec in, a Remotion composition out. Both were built at the same time in two separate Claude Code sessions, which is one of the quieter time savers in video editing with Claude.
Highlighting words in an article screenshot
Take a screenshot of the article you want to quote, give it to Claude, and name the exact words to highlight. If the screenshot holds a lot of text, be specific about which words. The first version came out choppy, so the follow-up was "make it smooth", and about 45 seconds later the highlight brought in each word smoothly as it was read.
The LA to New York map
The map started in a new session with three answers to Claude's questions: a new 1920x1080 project, state borders visible, and the route followed at low altitude. The first attempt failed because Remotion tried to use a Mapbox token the project did not have. Telling Claude to use an open-source map instead fixed it, and the map rendered with the GL approach Remotion's map rule suggests. Two more requests made the map colorful and added a globe effect, so the route from Los Angeles to New York crosses a curved, colored globe instead of a flat map. The map was then restyled further through the Higgsfield MCP, a Claude extension that needs its own subscription.
Video editing with Claude as an After Effects alternative
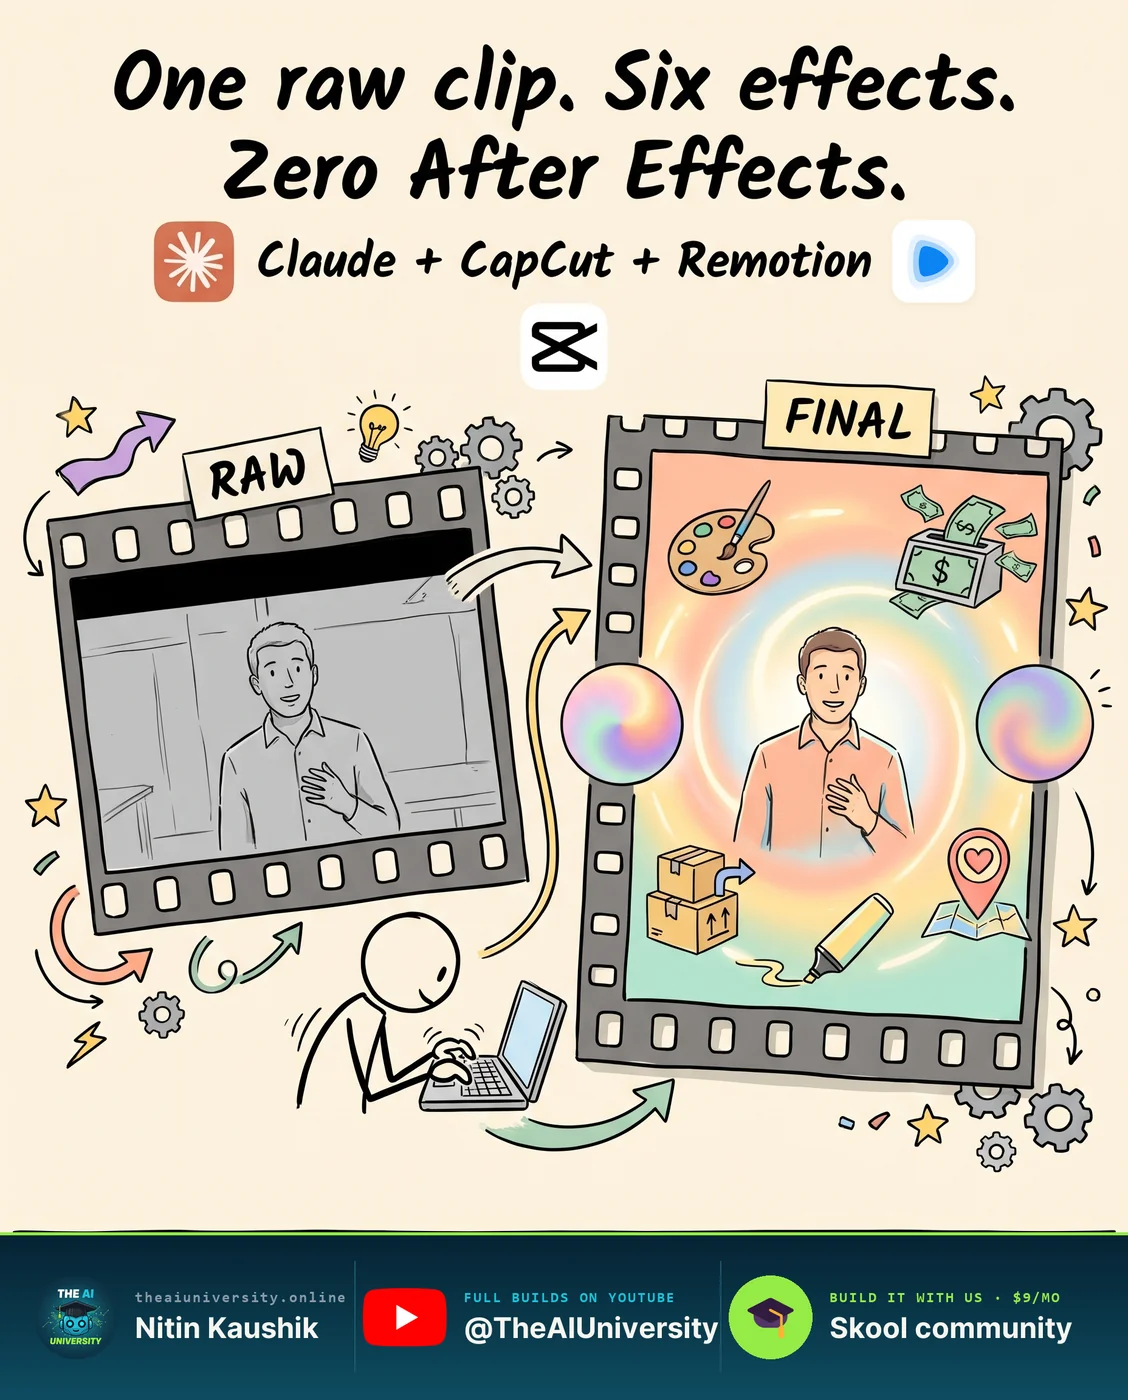
As an After Effects alternative, this workflow covered every effect in one edit: a graded timeline, a money counter, a motion background, animated boxes, text highlights and a map, with no After Effects at all. Side by side, the raw footage and the finished version are the same clip; what changed is the set of files and compositions Claude wrote.
Effect | The usual way | With Claude | What it took |
|---|---|---|---|
Color grade | Hours on color wheels, or a colorist | A LUT file from one prompt | One prompt and one follow-up |
Money counter | Hundreds of keyframes, or templates that break | An SRT file and a compound clip | About 2 minutes, against about an hour |
Animated boxes | Two hours of motion design at minimum | A prompt that asks questions first | About 4 minutes to build |
Background and map | After Effects, which can eat your RAM and crash at 99% | Remotion compositions Claude writes | Seconds for each change once set up |
It is not one click. The highlight needed a second prompt, the map needed a different map provider, and Claude Code's permission modes need a decision before you start. What changes is the unit of work: each effect becomes a sentence you can change, instead of a timeline you have to rebuild.
Frequently asked questions
What is a LUT file in video editing?
A LUT file in video editing is an instruction file that tells your editor to replace each color in the picture with a different one, so a whole color grade travels as one small file. Claude can write a LUT in the .cube format from a plain-language prompt, and editors such as CapCut apply it to footage through their LUT import option.
Do I need to know how to code to make motion graphics with Claude?
No, you do not need to write code to make motion graphics with Claude: you describe what you want, and Claude edits the Remotion composition for you. You do need Claude Code, Node.js and Remotion installed first, and Claude can walk you through that setup if you ask it to explain each step.
How is Remotion different from After Effects for motion graphics?
Remotion builds video from code, so Claude can create and change a composition from a written description, while After Effects relies on placing keyframes by hand. In this workflow, a change such as making a gradient move three times faster appeared in the browser preview within seconds, with no timeline to rework.
How much does it cost to edit videos with Claude Code?
Editing videos with Claude Code needs a paid Claude plan, because the free plan does not include Claude Code; Claude Pro costs $20 a month, or $17 a month billed annually. The LUT and money counter effects only need the Claude chat, while the Higgsfield MCP used to restyle the map needs its own subscription.
Can CapCut use a LUT file made by Claude?
Yes, CapCut can use a LUT file made by Claude: open Adjustment, choose LUT, click Import and select the .cube file Claude produced. Apply it as a layer stretched over your footage, toggle it to compare, and lower its intensity if the grade looks too strong; about 50% worked well in this edit.
Keep reading
 Claude dashboards
 are here. So is chart junk.
Claude dashboards turn your connected apps into one live view. Five questions decide whether yours gets used or quietly ignored.
Read article→ Reverse Engineer Anything
: Claude Can Now Rebuild Any App
Reverse Engineer Anything lets Claude look inside apps it has no code for. Here's how it works, who should skip it, and the software moat a copy can't take.
Read article→ AI agent skills
AI Agent Skills: 9 Free Ones and the Step Most Skip
AI agent skills install from one pasted link — that part is easy. The step that makes them genuinely useful is the one almost nobody runs.
Read article→